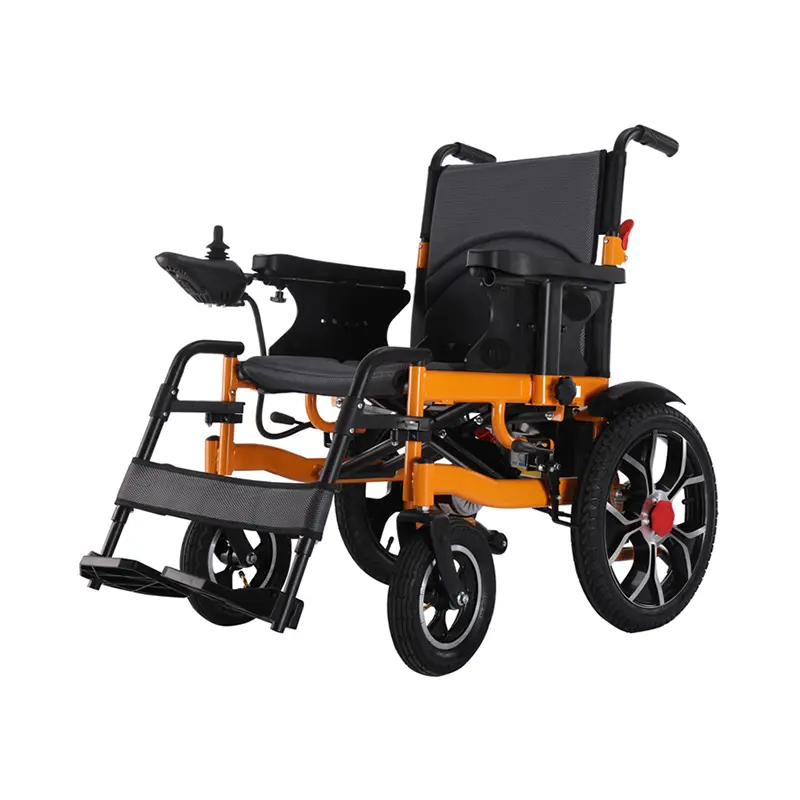
Welcome to our DIY guide to building a power lift for your automatic wheelchair! In this blog, we’ll walk you through the step-by-step process of creating a cost-effective and easy-to-use solution for individuals who use power wheelchairs. We understand the mobility and transportation challenges wheelchair users face, and our goal is to provide you with the tools and knowledge to make a difference. After reading this guide, you’ll have the skills you need to build your own electric elevator, ensuring independence and convenience in your daily life.
Step 1: Determine design and measurements
The first step in building a power lift for your automatic wheelchair is to determine a design that suits your specific needs. Consider factors such as the type of vehicle you have, the weight and size of your wheelchair, and any specific mobility requirements you may have. Accurately measure your wheelchair and the available space in your vehicle to ensure your lift is securely installed and functioning properly.
Step 2: Gather materials and tools
To build an electric elevator, you will need a variety of materials and tools. Basic components include a sturdy metal frame, a winch or electric actuator, a power source (such as a battery), cables, control switches and suitable wiring. Additionally, you’ll need a variety of nuts, bolts, and other fasteners to assemble the lift securely. Gather all necessary items before entering the construction phase.
Step 3: Build the Framework
Once you have your measurements, cut and assemble the metal frame according to your design. Make sure the frame is strong enough to support the weight of the wheelchair and the person. Weld the frame securely to ensure it is stable and wobble-free. A strong frame is vital to the safe and efficient operation of an electric lift.
Step 4: Install the winch or electric actuato
The winch or electric actuator is the heart of an electric lift. Secure it to the frame securely, making sure it can handle the weight of the wheelchair. Connect the actuator to the power supply using appropriate cables. Make sure to place the power supply in a convenient place, such as under the hood of your vehicle or in the trunk, for easy access and maintenance.
Step 5: Wiring and control switch installation
Next, connect the electric lift’s control switch to the corresponding terminals on the winch or electric actuator. Mount the control switch within easy reach of the wheelchair user, preferably near the vehicle’s dashboard or armrest.
Building your own electric lift for an automated wheelchair is a rewarding project that can greatly increase mobility and independence for people with disabilities. In this guide, we outline the key steps in building an electric elevator while emphasizing the importance of safety and durability. Remember to thoroughly test your elevator’s functionality and perform routine maintenance to ensure long-lasting performance. With a new electric lift, you no longer have to worry about accessibility and can go wherever you want, whenever you want.
Post time: Sep-27-2023


